Buffet Makeover
Once upon a time, before the Facebook marketplace was a “thing”, there was a super scary website called Craigslist. I am not sure who “Craig” is, or why he has a list, but it WAS the place to find old things for cheap (or be snatched by a crazy person). And this my friends is where our story begins….
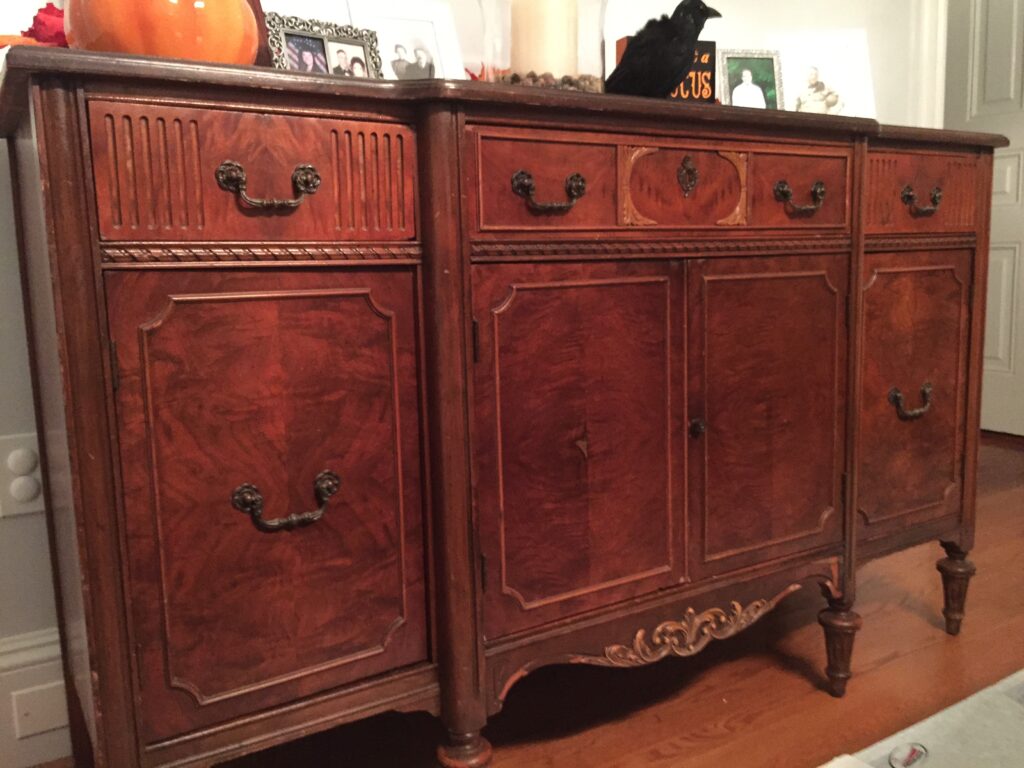
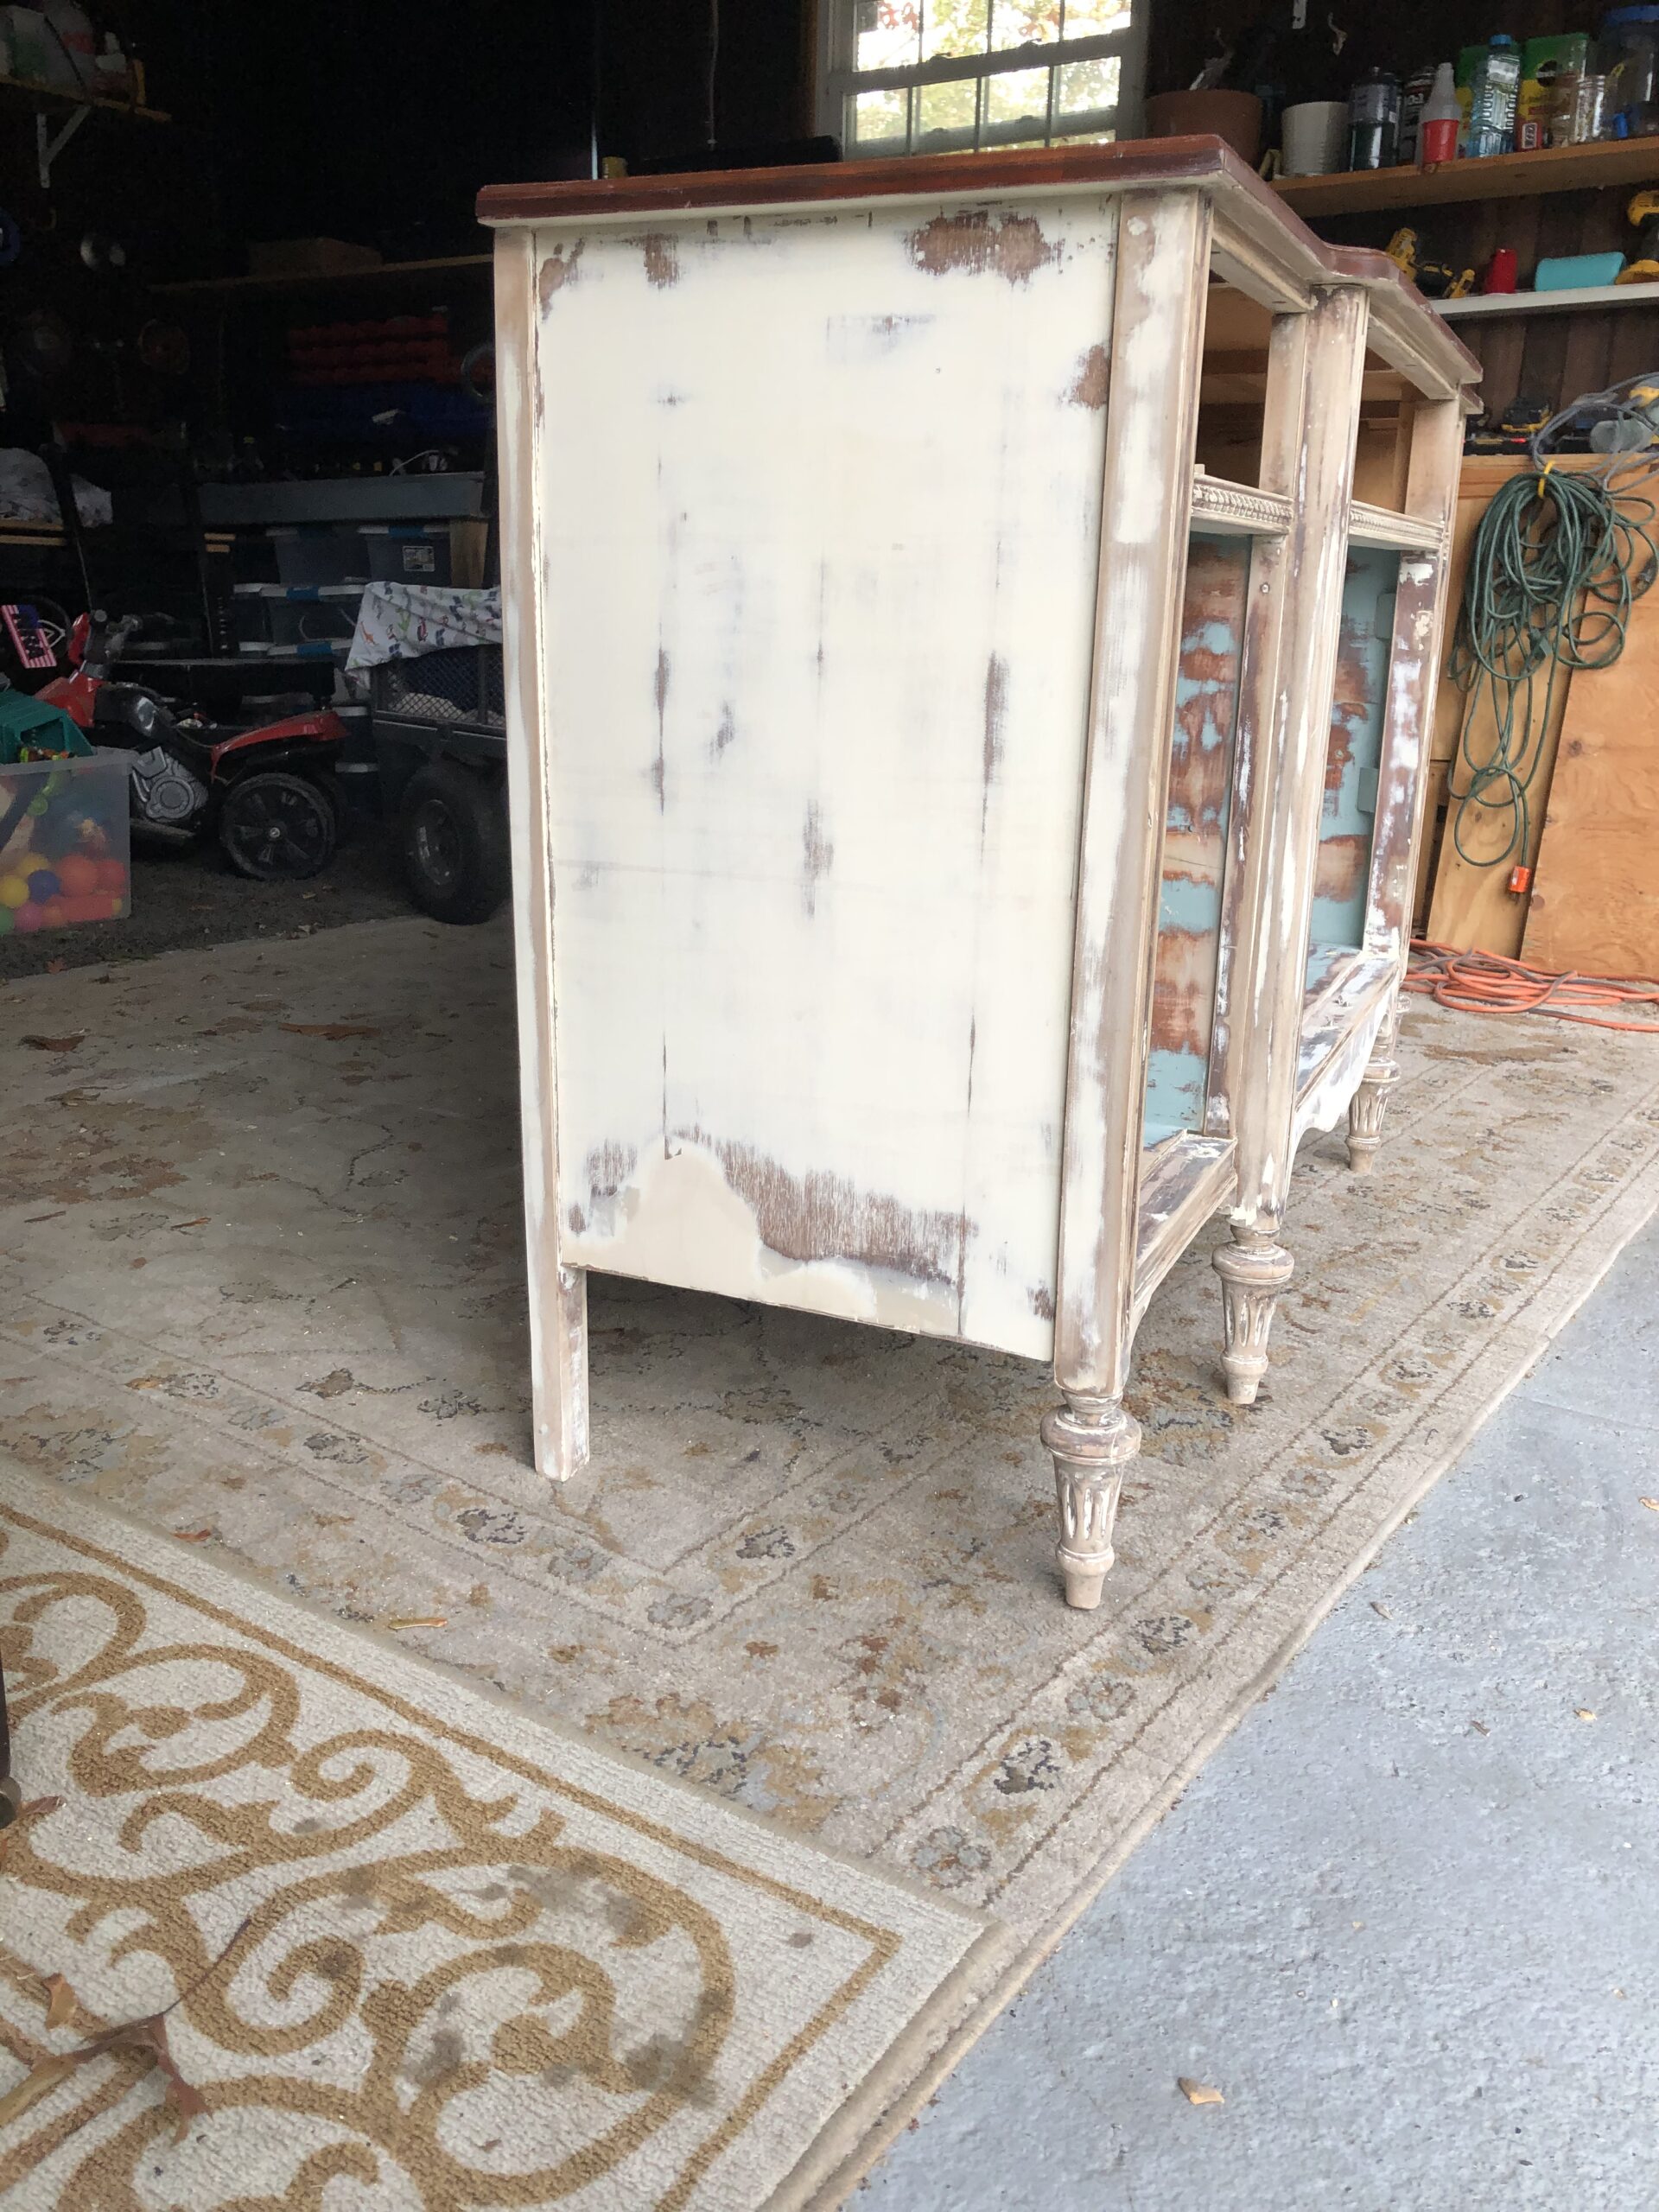
I found this adorable old buffet on Craigslist in 2017. If you look closely, you can see portions of the applique are missing along with portions of the veneer. Pity, because the veneer was very pretty! What you cannot see in this picture is the sides, were the veneer was peeling from the bottom up… making it a candidate for new veneer (out of my skill set) or painting.
Since this was 2017, I decided to Chalk Paint the whole thing and add a protective coat of wax for longevity.
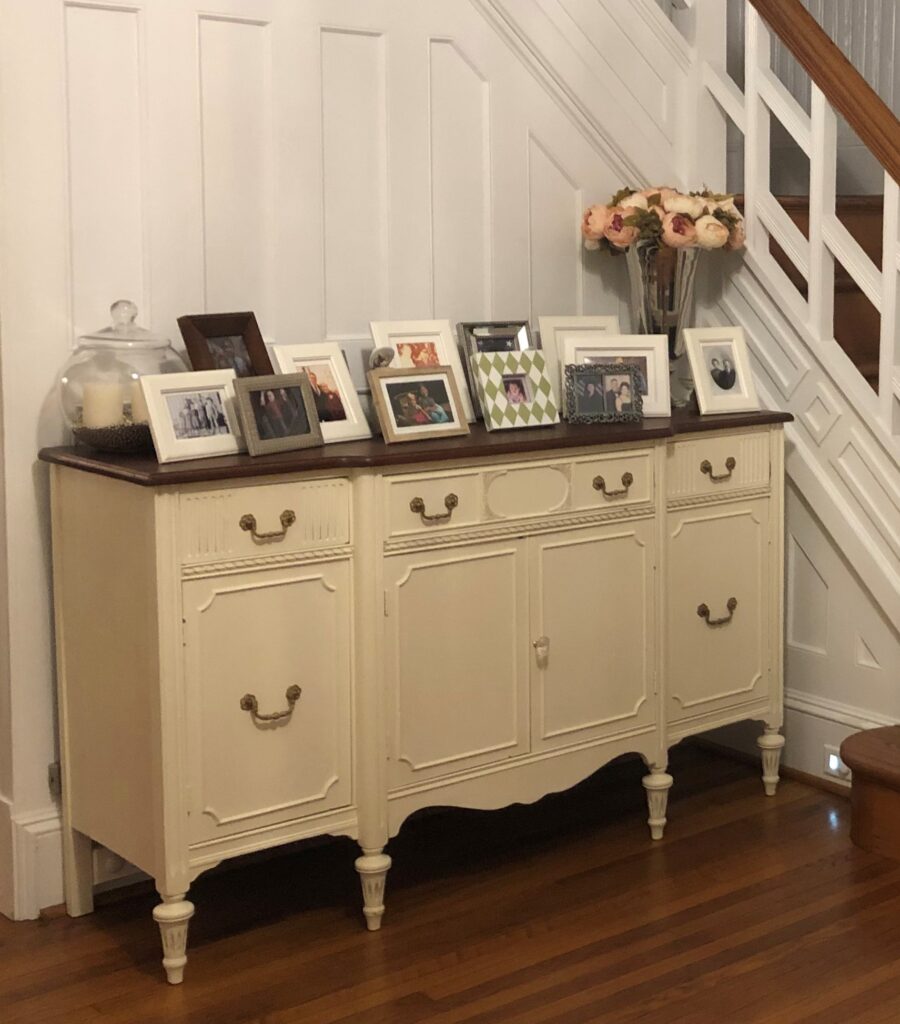
For four years this little girl sat in the entry hall and held china, kids toys, and various things that needed to be kept out of view. Until one day I decided the creamy white paint had been dented enough. And since you can’t see that from this photo (since it was taken in 2018), you will have to trust me that she wasn’t fairing very well. But how do you paint after you have applied wax????
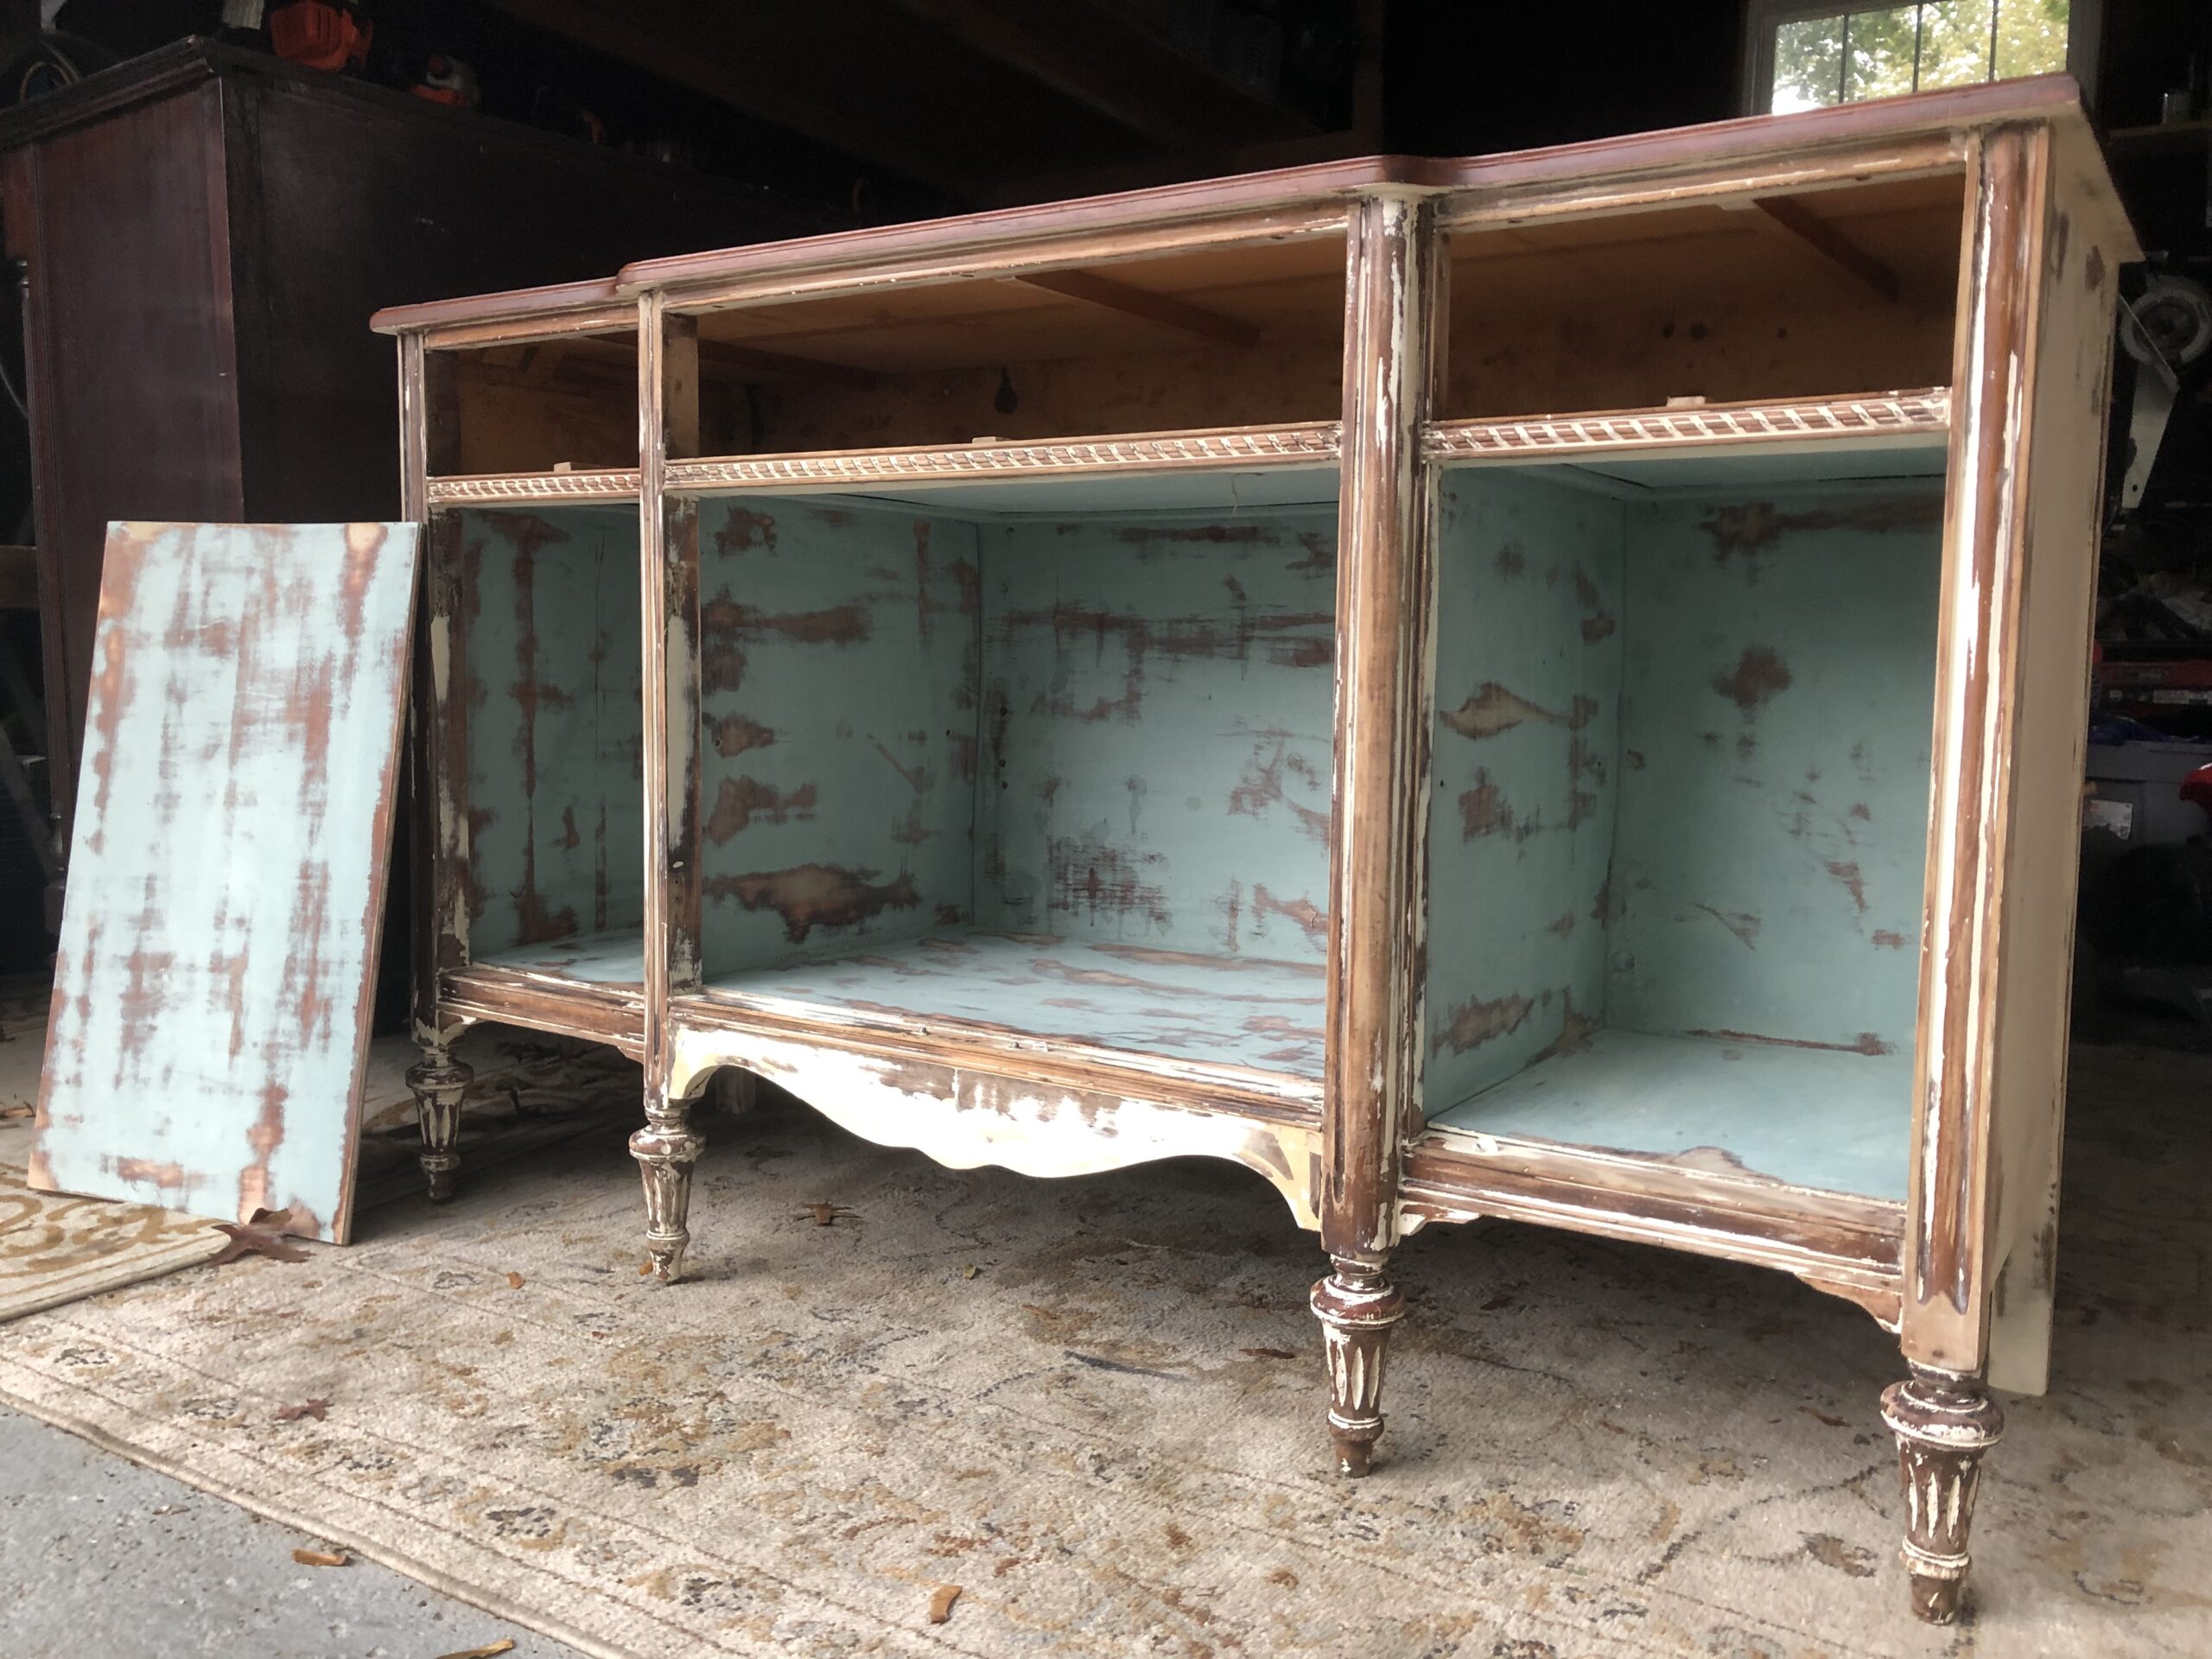
Furniture wax has been around FOREVER and provides protection to the finish, whether it is paint or stain. It soaks into the porous surface and doesn’t yellow or crack (like an oil based poly would do). So most furniture painters prefer it. But removing this stuff is not for the faint of heart. I started with Mineral Spirits scrubbing in the crevices with an old scrubby sponge and my toothbrush. Well not MY toothbrush (or my husbands) but one I keep for just these types of jobs. And when I was sore and high from the fumes, I moved onto 120 grit sandpaper. Sanding the large surfaces with the palm sander and then the details with my fingers. Until my fingerprints were no longer recognizable by by phone.
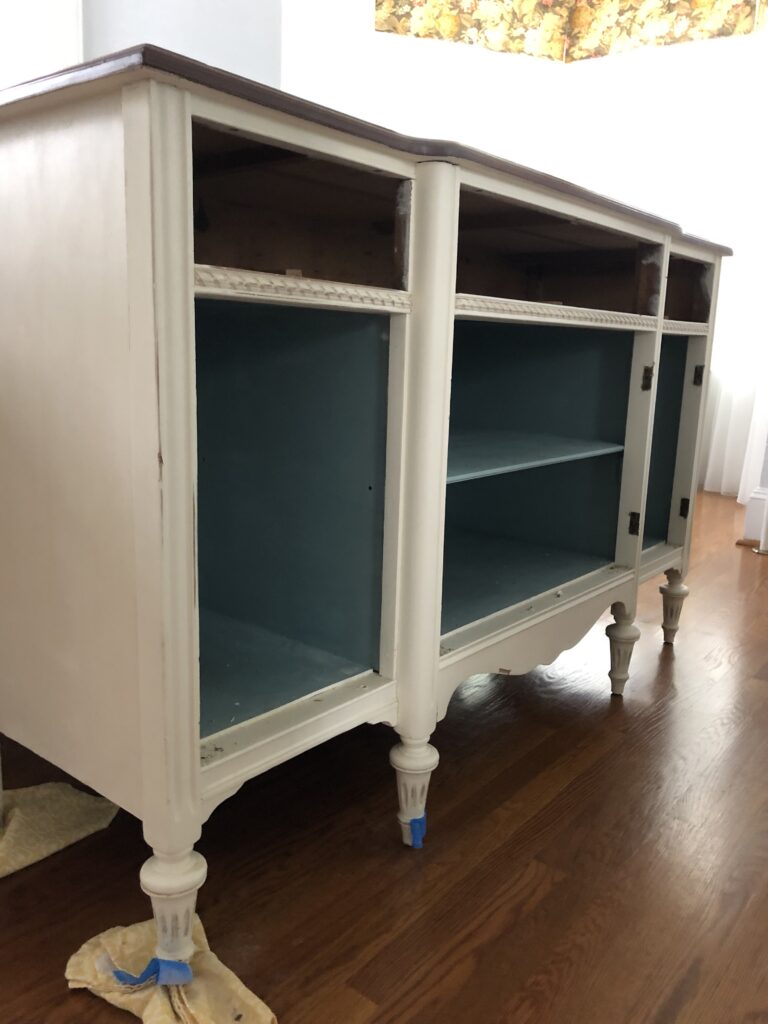
Doors and Drawers off 
95% wax free 
adding more wood filler to the holes

Since removing the wax has taught me that I NEVER WANT TO REMOVE WAX AGAIN (sorry, I feel very passionate about this wax), I started investigating alternative painting methods. Painted furniture usually needs a topcoat of some kind to protect it from the daily use. And that comes in the form of wax, shellac, varnish, or polyurethane. I did find a recent to the market product from Dixie Belle Paint Company, called Silk. Silk Paint is a mineral paint with a built in primer and top coat, to which I said Hallelujah! It was a bit pricey, it took me two and a half 16 ounce jars to paint the interior and exterior of the buffet, and at approximately $30 each (with shipping) it was a bit expensive for my taste. The finish is a “satin” which I prefer over the matte of chalk paint. Self leveling, the brush strokes are supposed to disappear, and they did for the most part.

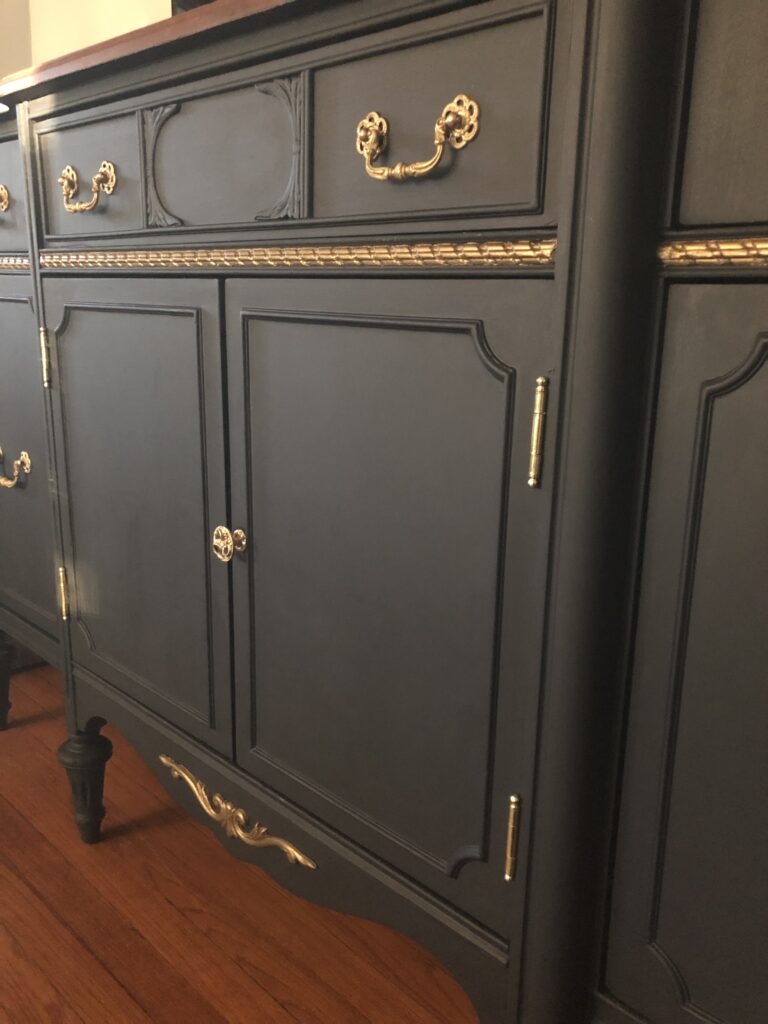
Painted buffet door
In the photo above, the paint appears black, but the color is a deep dark blue called Deep Sea Silk Paint. I decided the buffet needed some bling… in addition to the original pulls (which had been cleaned and polished), I used Design Master Metallic Paint in Antique Gold (which I had left over from various other projects) on the rope detail under the drawers.
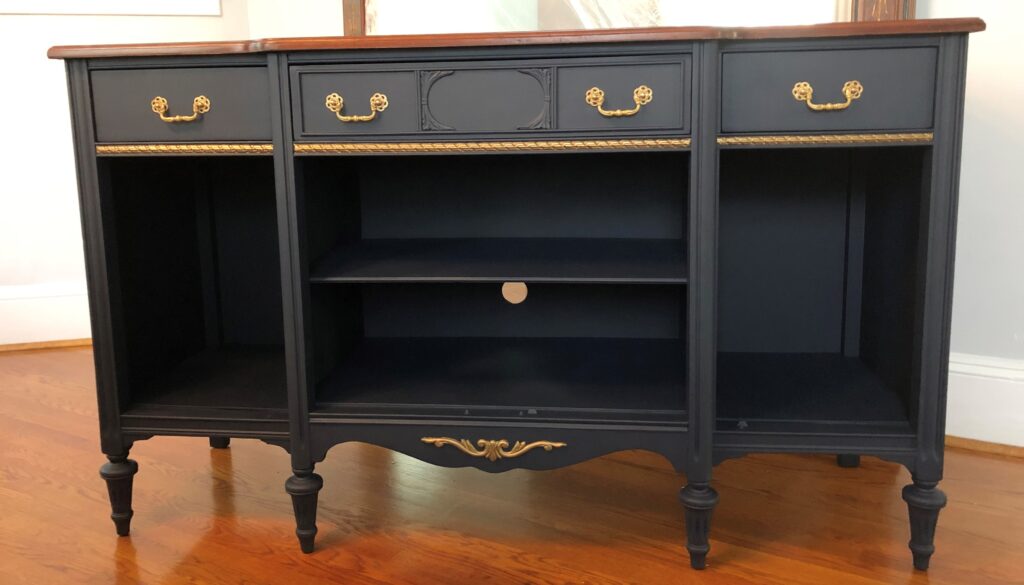
The bottom required an applique, the original was so badly damaged that I had to remove it and patch the (what I assume was water) damage. And it looked so plain and sad, so I found a perfect addition on the Etsy shop Wood N What-Knots. I used the same Design Master Antique Gold and applied with wood glue, easy peasy.
The original hinges were a HOT DUMPSTER FIRE MESS! I am a HUGE fan of taking the time to remove hinges, hardware, light switch covers, etc. when painting… but these, whew! First, they were of course slotted screws (the devils handiwork if you ask me) and I thought, when I was chalk painting in 2017, that these things must have been varnished over, because I could not get them off. So, I erred on the side of caution, and painted over them. Four years later, I am confident in my skills to source new hinges, so I ripped those suckers right off and ordered new ones from Van Dyke’s Restorers… and I waited. While I love to window shop on their site, I know that they take a very long time to ship… and it isn’t just the supply chain apocalypse, it has been this way forever.
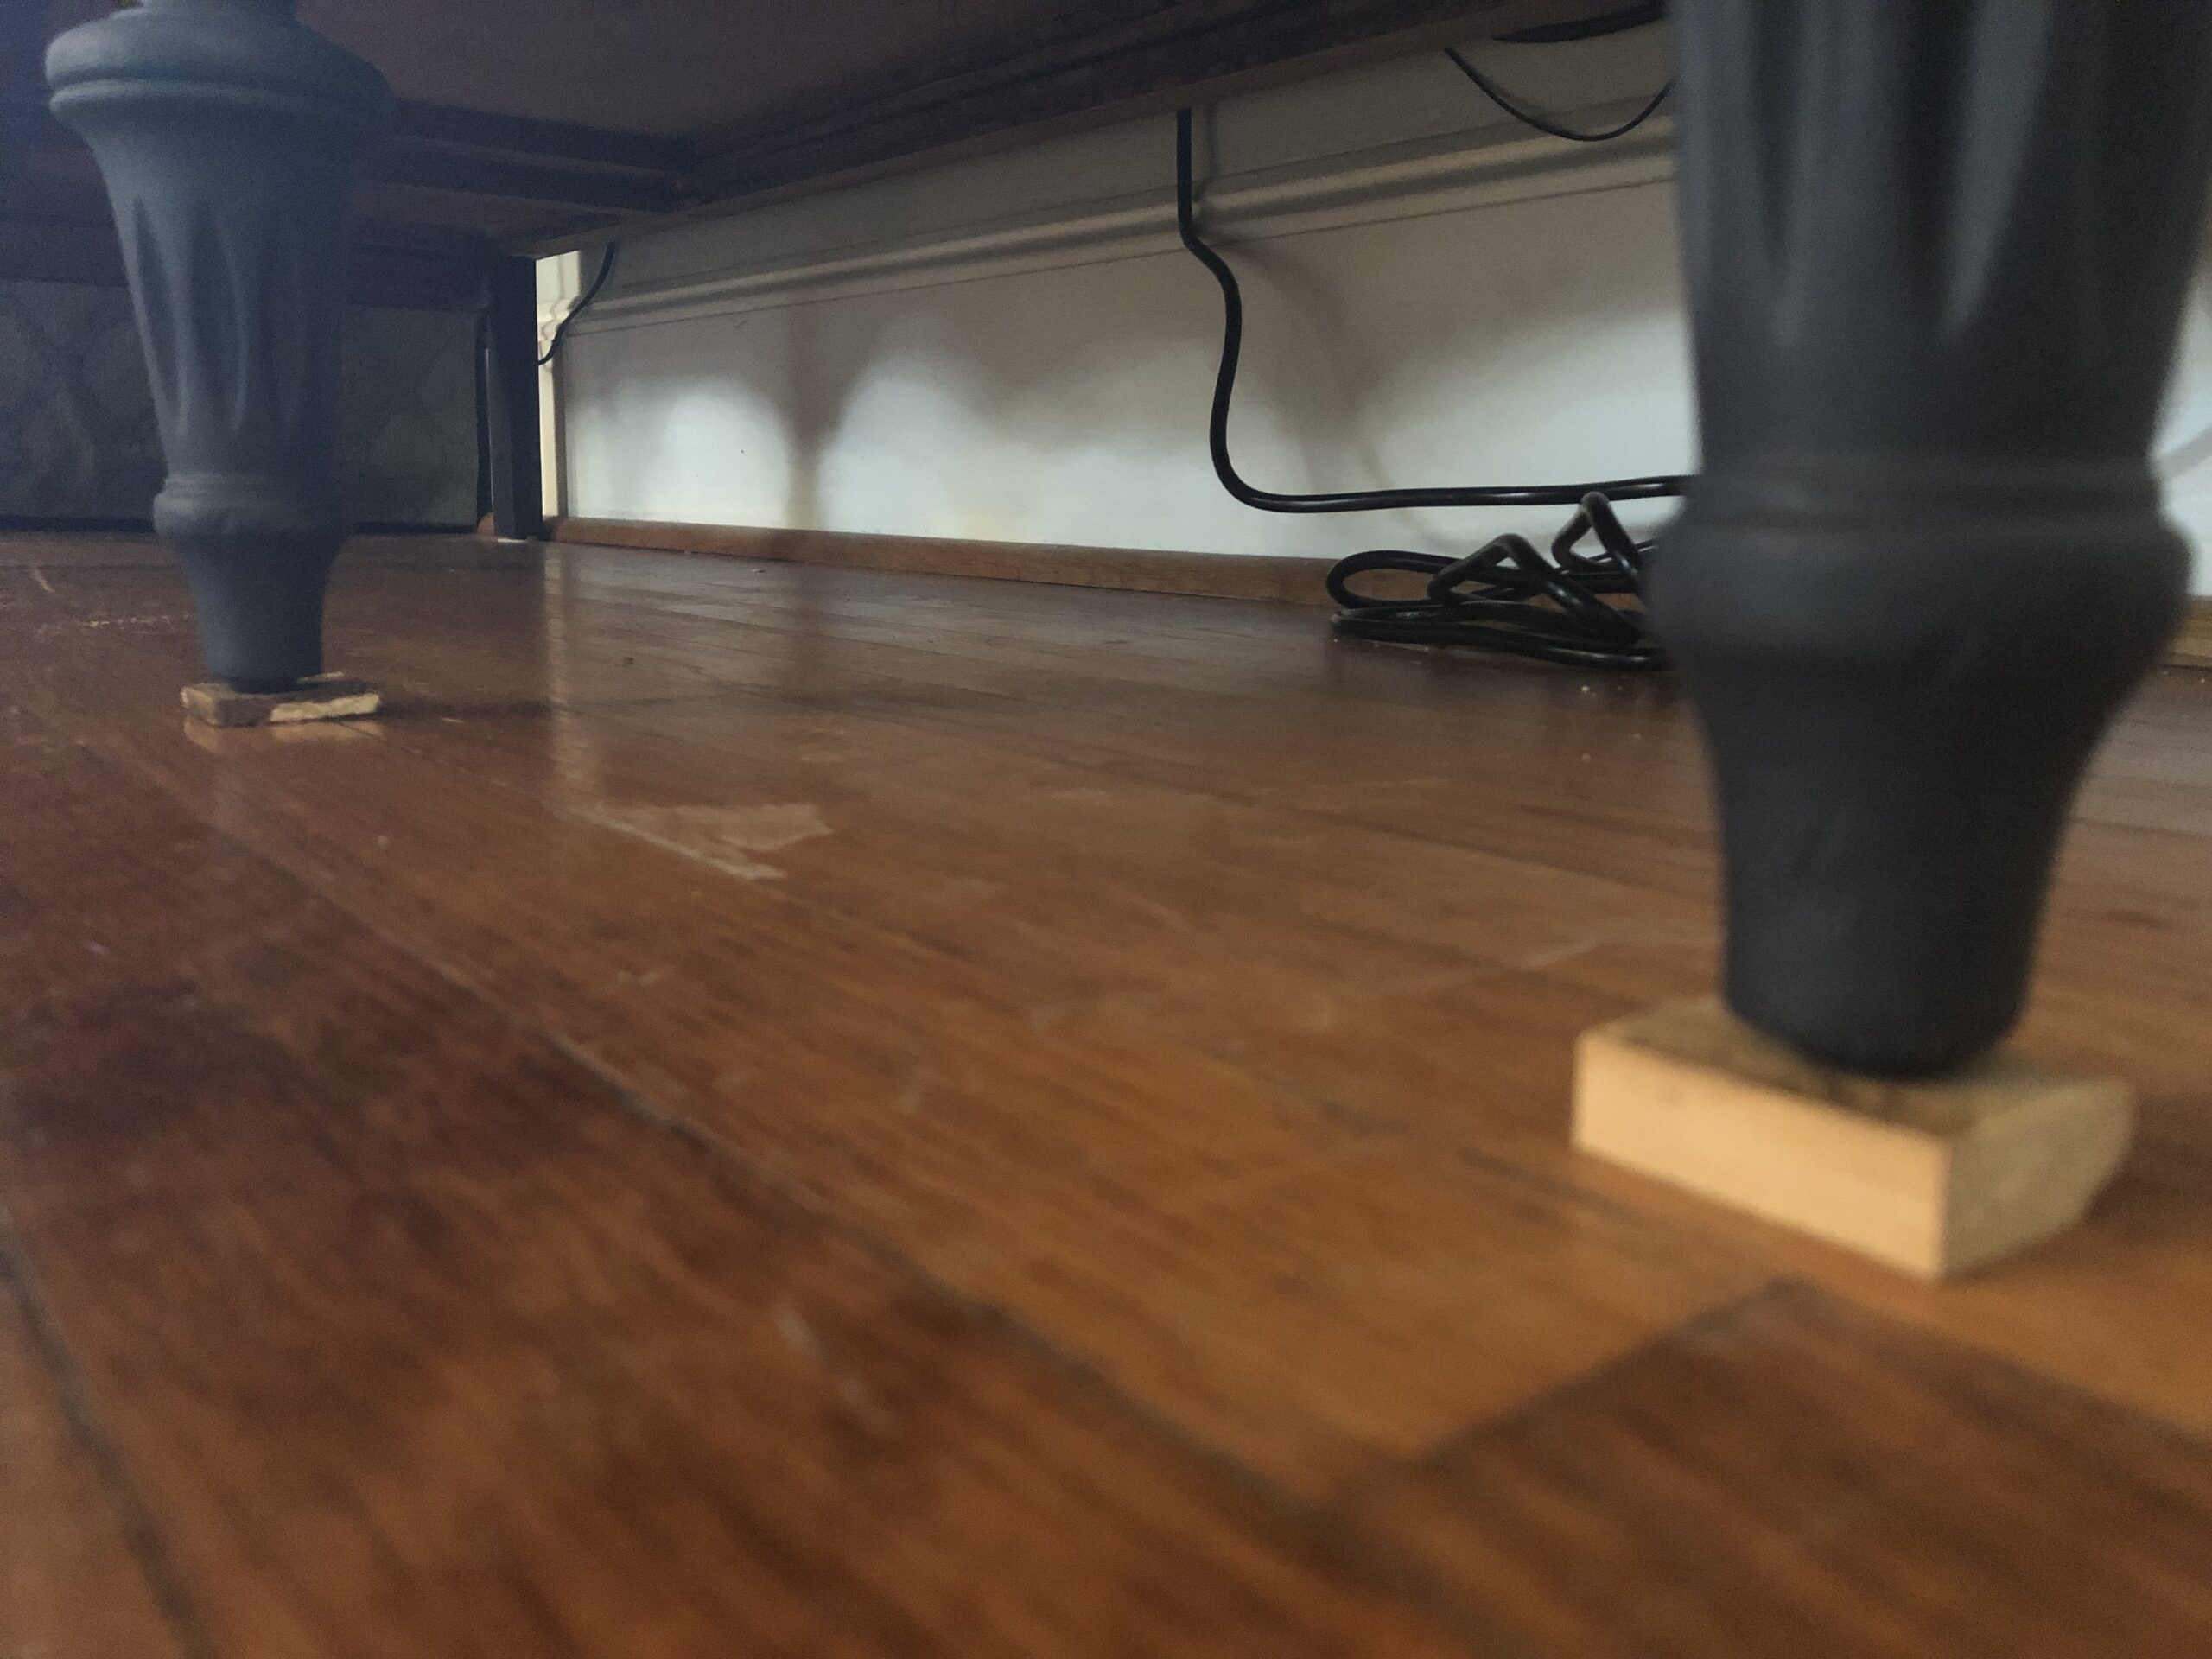
The buffet is being repurposed as a TV cabinet and moving again into the living room/parlor, hence the 2″ hole I cut in the back for cords that connect the various video game consoles that are an absolute must when you have a child living in the house, oh and my 5 year old son too (you see what I did there, I called the hubs a child…. HAHAHAHAHA, it is the small things in life that I cling to for sanity)!
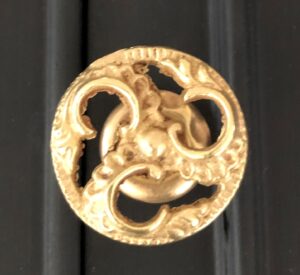
When I purchased the buffet in 2017, the knob pull was small, dirty, and I believe made of aluminum which had been brass plated. All of the plating had worn off and attempts to clean and polish it resulted in heartbreak. This time around I found a wonderful solid brass replacement on Etsy and was very happy with the result.
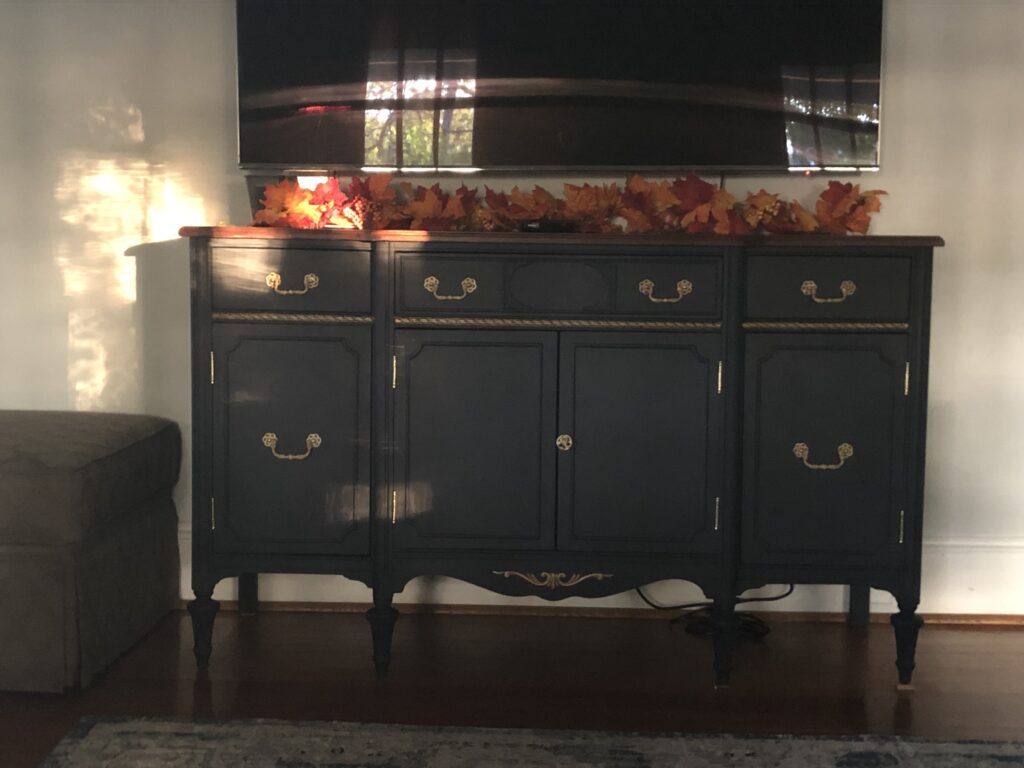
So there it is, in all of its glory! I absolutely love the beauty and functionality of it. It took positively forever for me to finish this post… I took the photo with Thanksgiving decor on top and now Christmas is just 3 weeks away.
no one knows what mess hides inside 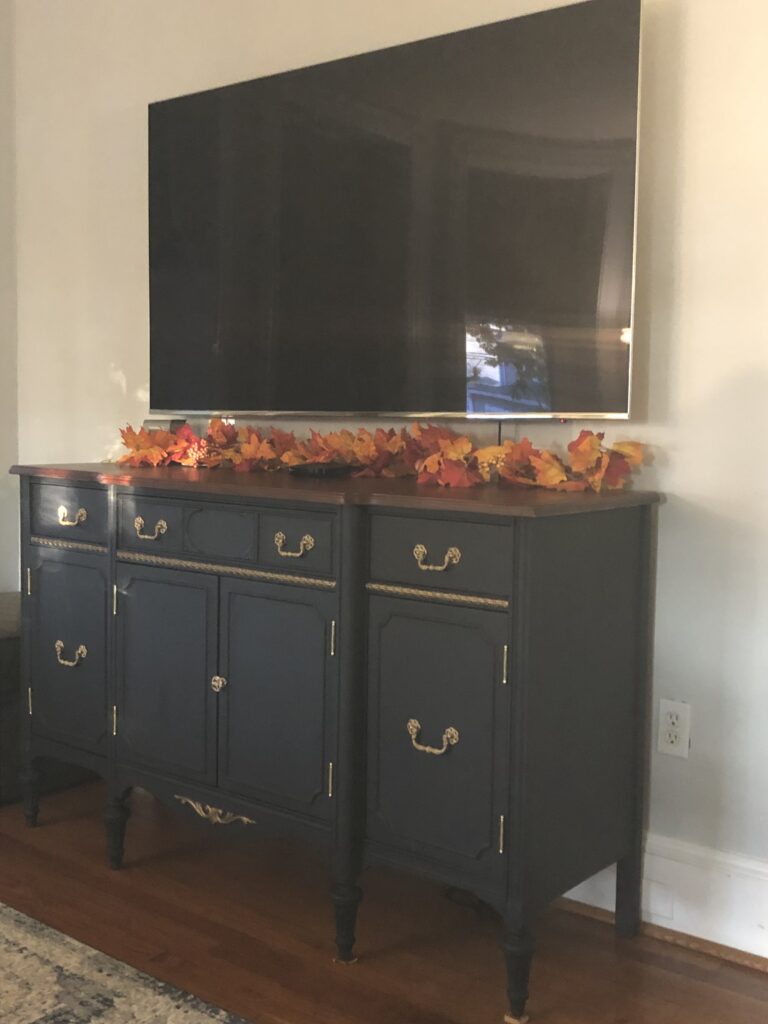

nothing straight or level… 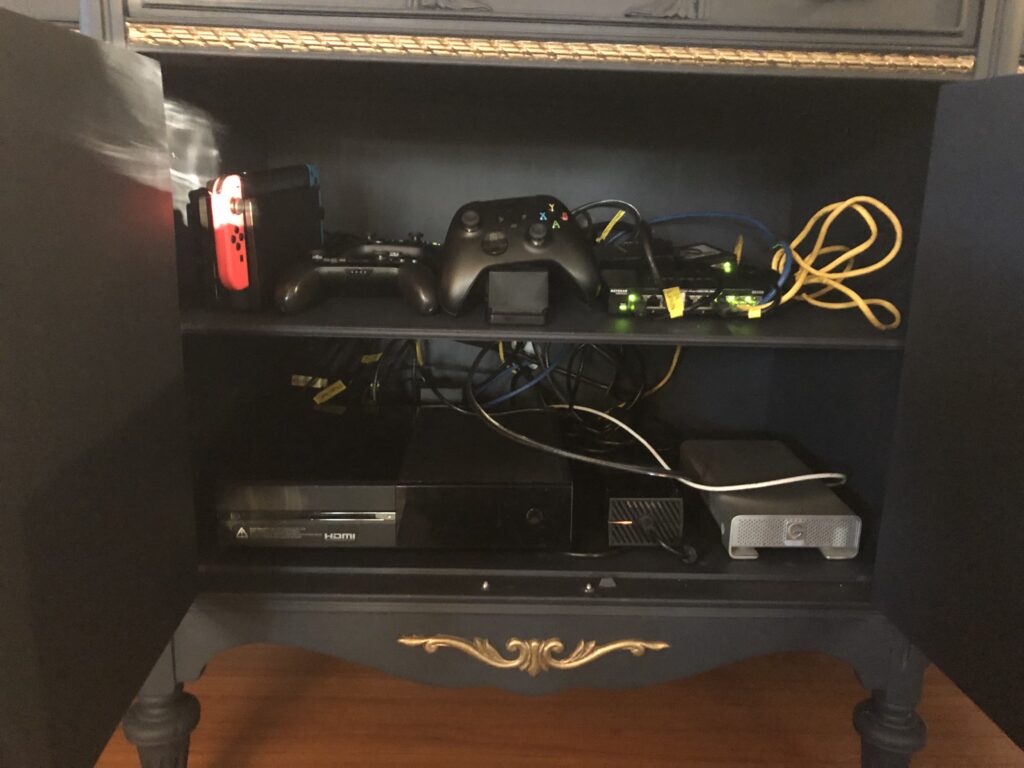
cables contained 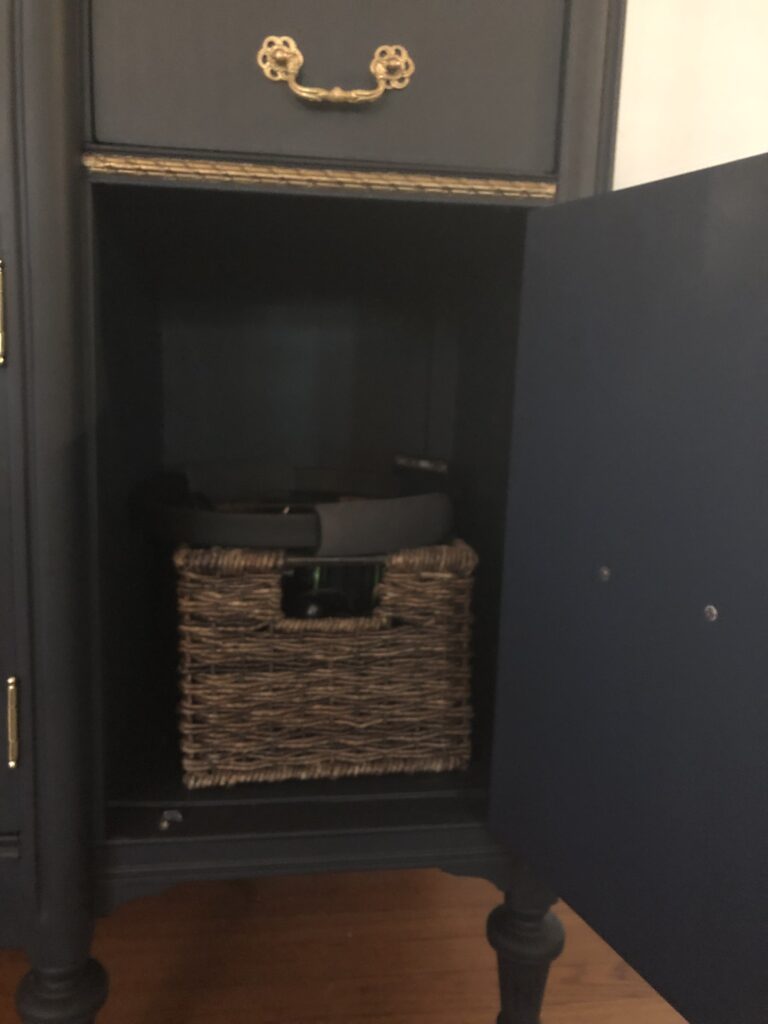
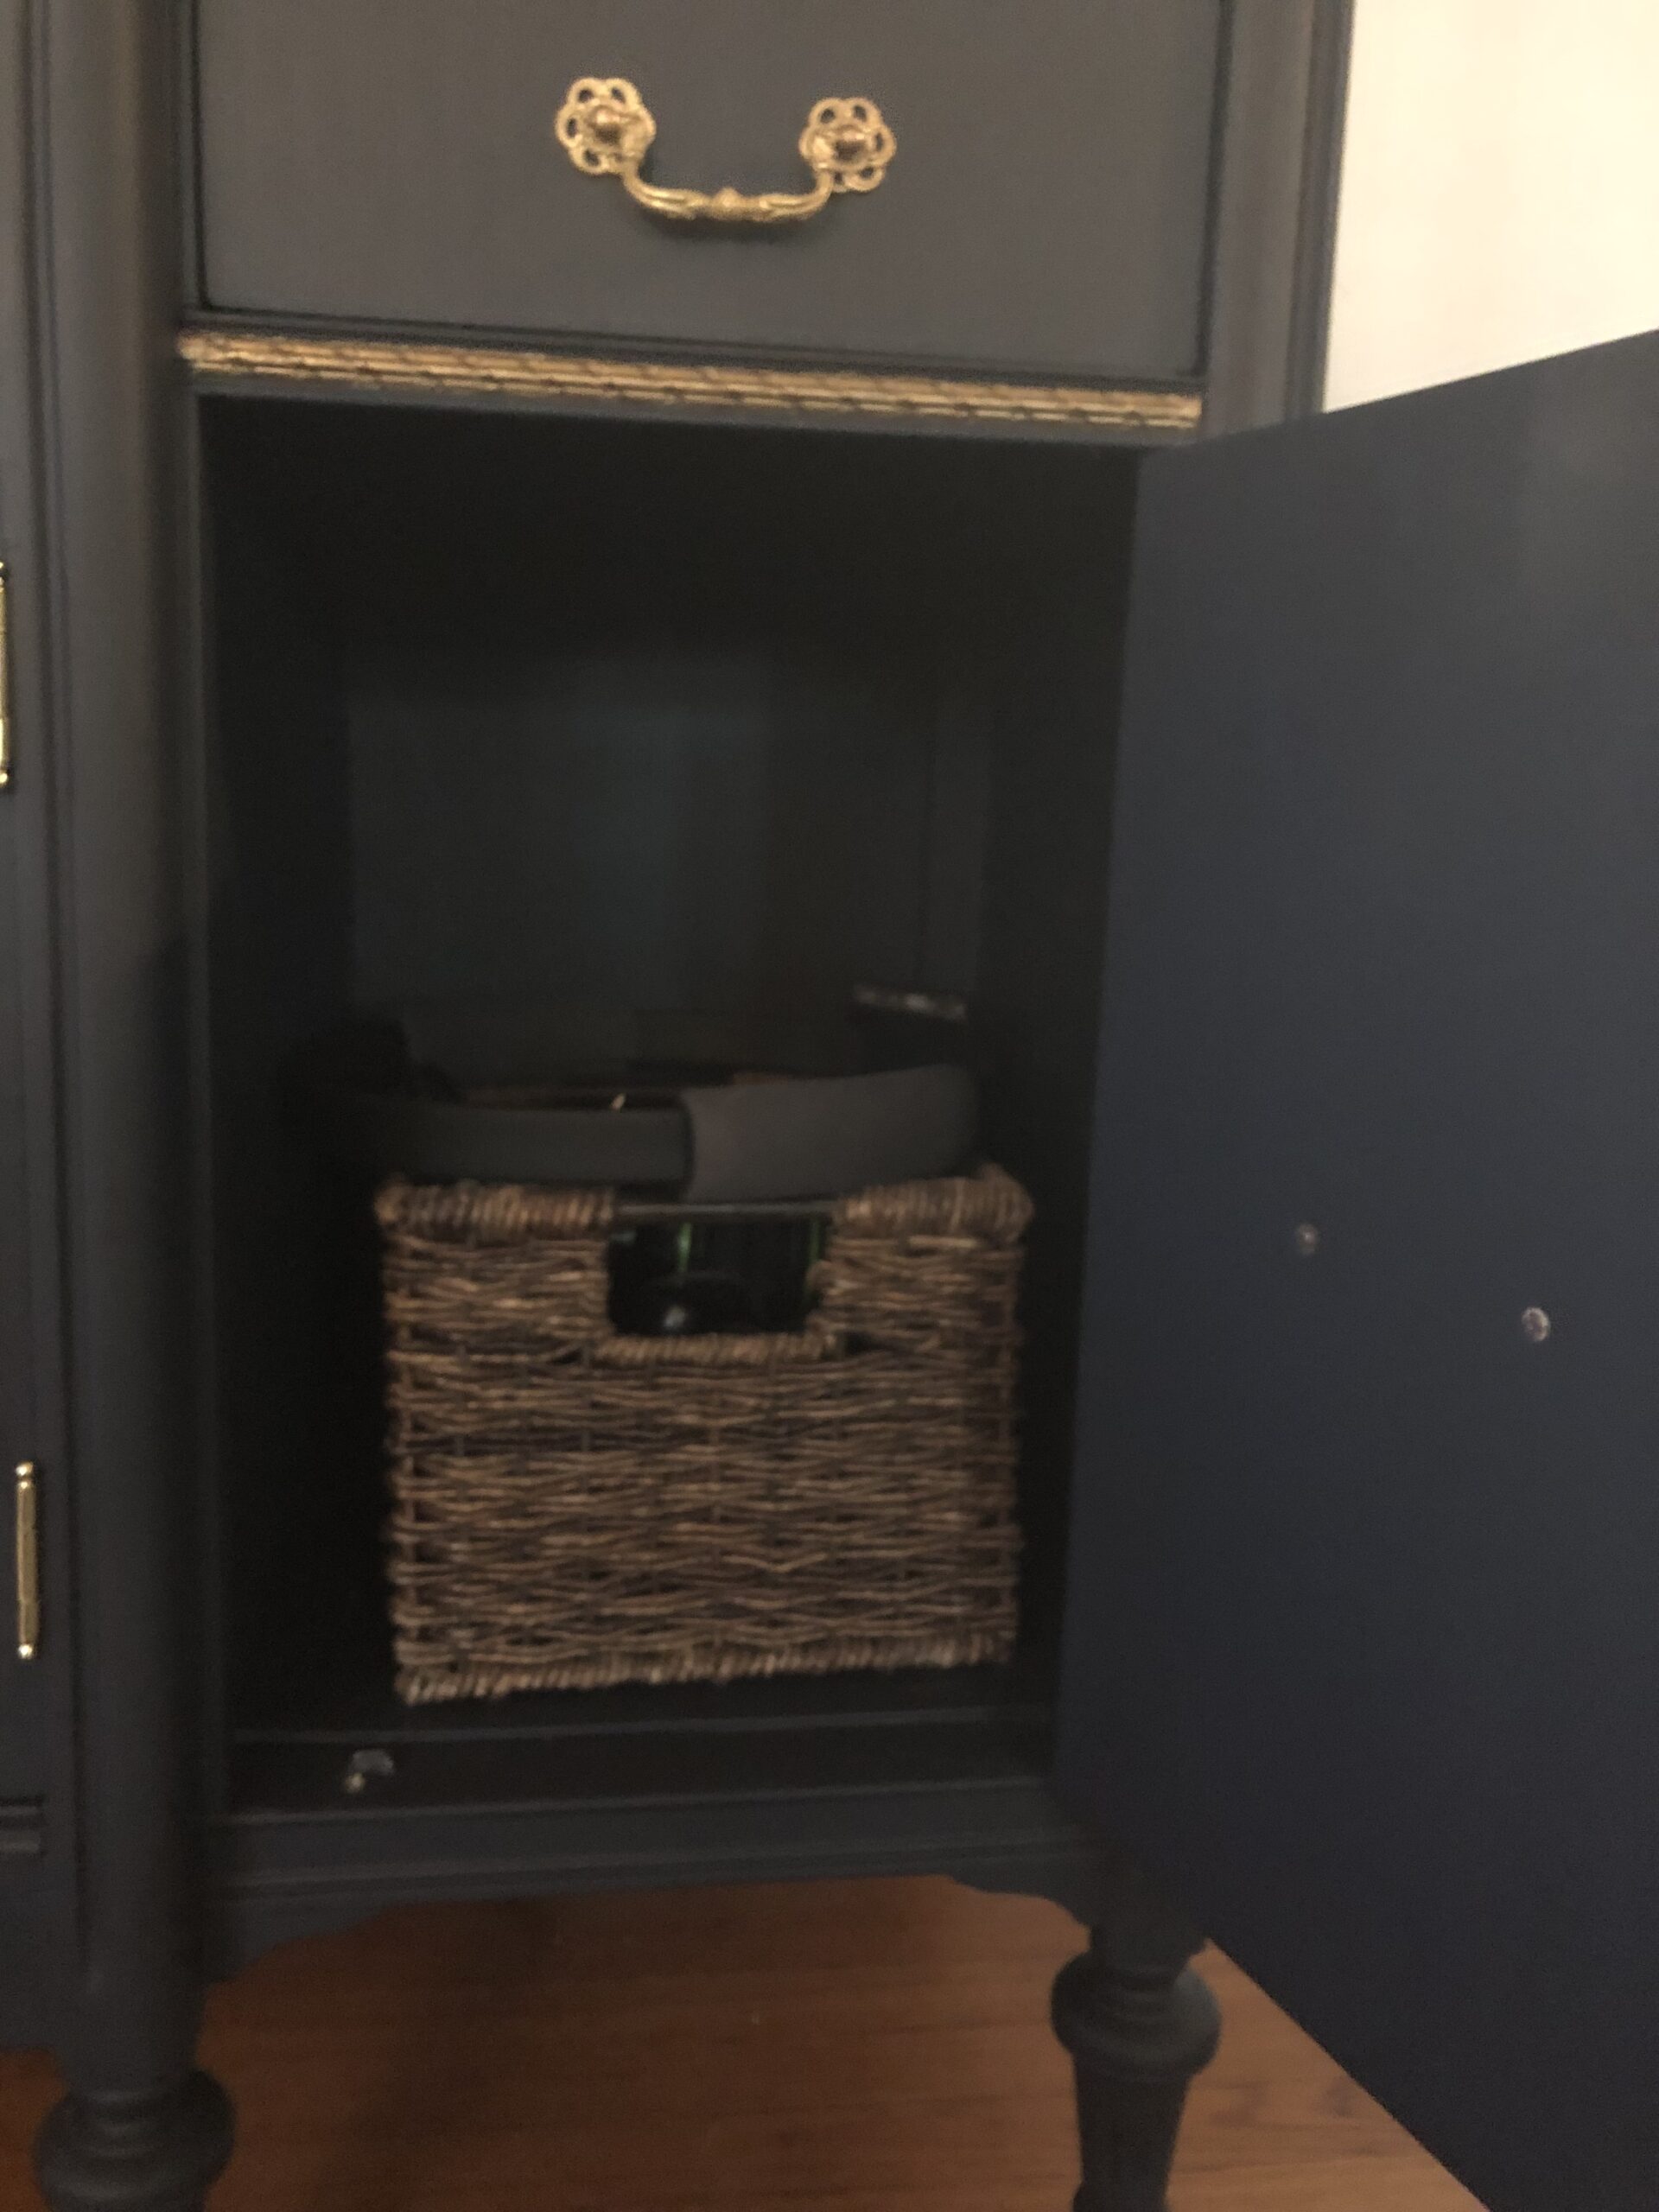
equipment is tucked away 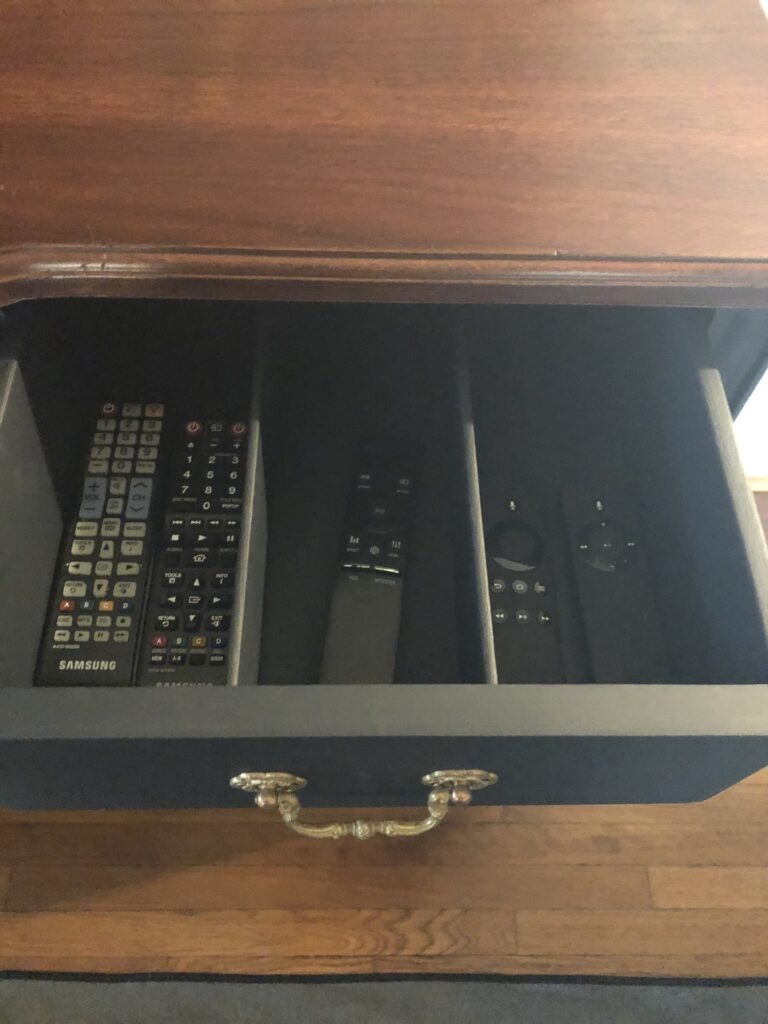
silver or remotes?


Stay safe and be nice to each other, we could all use it this year!
